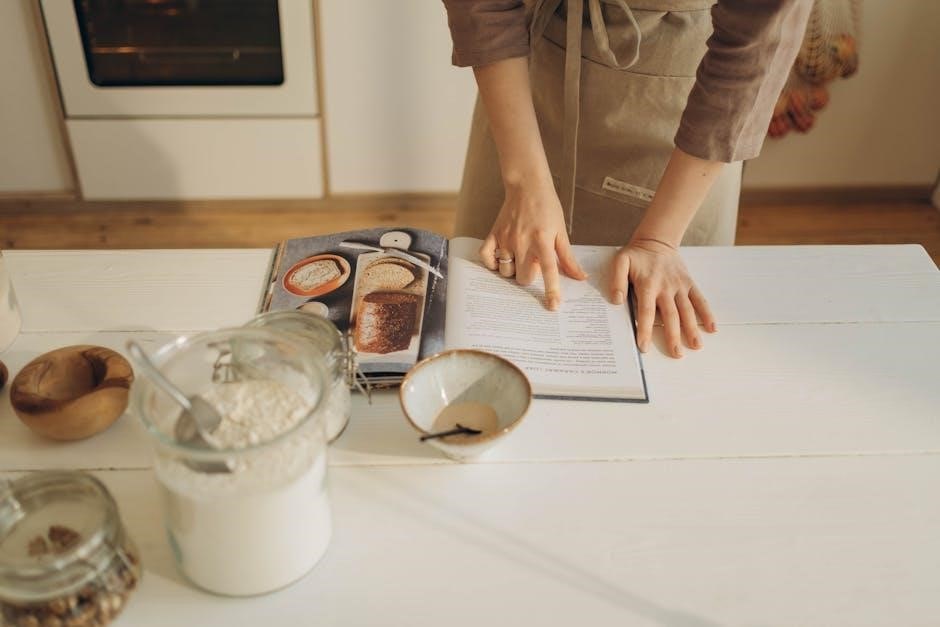
A sourdough starter is a naturally occurring mixture of wild yeast and bacteria. It acts as a leavening agent‚ created from flour and water through fermentation. This foundational element in bread-making enhances texture and flavor‚ offering a rewarding and educational process for home bakers.
1.1 What is a Sourdough Starter?
A sourdough starter is a naturally occurring mixture of wild yeast and bacteria that ferments to produce lactic acid and carbon dioxide. Created from flour and water over several days‚ it acts as a leavening agent‚ replacing commercial yeast in bread recipes. The starter’s fermentation process gives bread its characteristic tang and chew. Unlike commercial yeast‚ a sourdough starter is a living‚ breathing entity that requires care and feeding. It is a key component in traditional bread-making‚ offering a unique flavor and texture. By harnessing wild microorganisms‚ the starter creates a healthier and more complex bread option. Mastering a sourdough starter connects bakers to centuries-old techniques and opens the door to a variety of recipes. Its versatility and the rewarding process of cultivation make it a beloved tool for home bakers and professionals alike.
1.2 Benefits of Using a Sourdough Starter
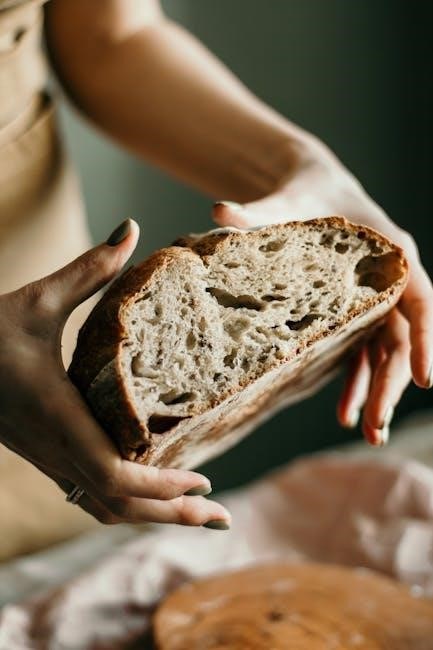
Using a sourdough starter offers numerous benefits for bakers. It creates bread with a unique‚ tangy flavor and a chewy texture that commercial yeast cannot replicate. The fermentation process enhances nutrient availability‚ making the bread easier to digest for some people. Sourdough starters also eliminate the need for commercial yeast‚ allowing for a more natural and traditional baking process. Additionally‚ maintaining a sourdough starter is cost-effective‚ as it can be used repeatedly with proper care. The longer fermentation time breaks down gluten‚ making sourdough bread a better option for those with mild gluten sensitivity. Furthermore‚ the process fosters a deeper connection to the craft of bread-making‚ encouraging patience and creativity. With its versatility and health benefits‚ a sourdough starter is a valuable tool for both novice and experienced bakers.

Gathering Ingredients and Equipment
Gathering simple ingredients and essential equipment is the first step in creating a sourdough starter. This ensures you have everything needed to begin and maintain the fermentation process successfully.

2.1 Ingredients Needed
To create a sourdough starter‚ you’ll need just two primary ingredients: flour and water. Use unbleached‚ all-purpose flour or bread flour for best results‚ as they contain more gluten. Whole grain flour can also be used for added nutrition. Water should be filtered or bottled to avoid chlorine‚ which can inhibit fermentation. Optional ingredients like whole grains or rye flour can be added later for variety. Always use fresh‚ room-temperature water and avoid contaminated or stale flour. A digital scale is helpful for precise measurements‚ ensuring consistency. These simple ingredients are the foundation of your sourdough starter‚ promoting healthy yeast and bacterial growth. Keep them fresh and ready for the process ahead.
2.2 Essential Equipment
To successfully create and maintain a sourdough starter‚ you’ll need a few simple yet essential tools. A clean glass or ceramic container with a wide mouth is ideal for allowing easy access and observation. Avoid metal containers‚ as they can react with the starter. A wooden spoon or spatula is perfect for mixing‚ while measuring cups and spoons ensure precise proportions. Optional but useful items include a digital scale for accurate measurements and a marker to label the container with feeding dates. Plastic wrap or a damp cloth can cover the container to maintain humidity and prevent contamination. These tools will help you create and care for your sourdough starter effectively‚ ensuring a healthy and active fermentation process.
Step-by-Step Instructions for Creating a Sourdough Starter
Creating a sourdough starter involves mixing flour and water‚ then regularly feeding and observing the mixture. This process fosters wild yeast growth‚ leading to a bubbly‚ active starter ready for baking.
3.1 Day 1: Creating the Starter
To begin‚ mix 1/2 cup of warm water (around 90°F) with 1/2 cup of flour in a clean glass or ceramic container. Use a wooden spoon or spatula to stir until smooth. Cover the container loosely and let it rest at room temperature (about 70-75°F) for 24-48 hours. This initial step kickstarts the fermentation process‚ allowing wild yeast and bacteria to activate. Choose a high-protein flour‚ like bread or all-purpose flour‚ for best results. Avoid metal containers‚ as they can inhibit microbial activity. After mixing‚ observe the starter occasionally but refrain from stirring until Day 2. This foundational step sets the stage for a healthy‚ thriving sourdough starter. Keep the container in a draft-free area to promote consistent fermentation; By the end of Day 1‚ you’ll have taken the first step toward creating your own natural leavening agent.
3.2 Day 2-6: Feeding the Starter
Starting from Day 2‚ feed your sourdough starter once daily. Discard half of the starter before adding fresh ingredients to maintain a balanced ratio. Use a 1:1 ratio of flour to water‚ such as 1/2 cup of flour and 1/2 cup of water. Mix thoroughly‚ ensuring the starter is smooth and well-incorporated. Over the next few days‚ observe how the starter becomes bubblier‚ frothier‚ and almost doubles in size after feeding. By Day 3-4‚ it should emit a tangy aroma and show visible signs of fermentation. If the starter appears sluggish‚ ensure it’s at room temperature (70-75°F) and fed consistently. By Day 6‚ it should be active‚ creamy‚ and nearly double in size within 4-6 hours after feeding. This indicates it’s ready for baking. Keep the starter in a draft-free area and avoid over-handling during this critical development phase.
3.3 Observing the Starter’s Progress
Daily observation is key to understanding your sourdough starter’s development. After each feeding‚ monitor its activity by noting the appearance of bubbles on the surface and within the mixture. A healthy starter will begin to emit a tangy‚ slightly sour aroma and develop a frothy texture. By Day 3 or 4‚ it should start to double in size within 4-6 hours after feeding; Look for a smooth‚ shiny surface and a lively‚ almost elastic consistency. If the starter appears sluggish‚ check the temperature and ensure consistent feeding. Over time‚ you’ll notice it becoming more vibrant and predictable. Tracking its progress helps you identify when it’s ready for baking. Keep a journal to record changes‚ as this will refine your understanding of its behavior and needs. Proper observation ensures you catch any issues early‚ allowing for timely adjustments.
3.4 Determining Readiness
Your sourdough starter is ready to use when it consistently doubles in size within 4-6 hours after feeding. Look for a lively‚ bubbly texture and a slightly domed surface. A mature starter will emit a sharp‚ tangy aroma and have a springy‚ almost elastic consistency. To test readiness‚ gently press your finger into the starter; if it springs back quickly‚ it’s active and robust. Another indicator is the presence of a thin‚ transparent layer of liquid on the surface‚ signifying peak fermentation. For an additional check‚ place a small amount of starter in water—if it floats‚ it’s ready to leaven bread effectively. This stage typically occurs around Day 6 or 7‚ depending on temperature and feeding consistency. Once your starter meets these criteria‚ it’s prepared for baking and can be stored for future use.

Maintaining Your Sourdough Starter
Maintaining a sourdough starter involves regular feeding‚ proper storage‚ and monitoring its activity. A consistent routine ensures the starter remains healthy‚ active‚ and ready for baking‚ while adjustments accommodate different schedules and environments.

4.1 Feeding Schedule
A consistent feeding schedule is crucial for maintaining a healthy sourdough starter. Typically‚ feed your starter once daily with a 1:1:1 ratio of starter‚ flour‚ and water by weight. For example‚ 50 grams of starter requires 50 grams of flour and 50 grams of water. Mix thoroughly‚ ensure the container is clean‚ and store it in a warm‚ draft-free place. Adjust the feeding frequency based on usage and environment: feed it twice daily if baking frequently or once daily if less active. Before baking‚ ensure the starter is well-fed and bubbly. A regular feeding routine prevents over-fermentation and maintains microbial balance. If the starter becomes too active or sluggish‚ adjust feeding times or amounts accordingly. Consistency is key to keeping your sourdough starter vibrant and ready for use. Over time‚ you’ll develop a rhythm that suits your baking schedule and lifestyle.
4.2 Storage Options
Proper storage ensures your sourdough starter remains healthy and ready for use. For active use‚ store it in a glass or ceramic container with an airtight lid at room temperature (around 70-75°F). Feed it daily to maintain activity. For short-term storage (up to a week)‚ keep it in the refrigerator to slow fermentation‚ feeding it once before refrigeration and again before use. For long-term storage‚ freezing is ideal: transfer the starter to an airtight container or freezer bag‚ label it‚ and store at 0°F or below. To revive‚ thaw at room temperature and feed it once or twice until bubbly. Avoid using metal containers‚ as they can react with the acid in the starter. Always use a clean utensil when handling the starter to prevent contamination. Proper storage ensures your sourdough starter remains vibrant and ready for baking.
- Active use: Room temperature‚ glass/ceramic container‚ feed daily.
- Short-term: Refrigerate‚ feed once before and after storage.
- Long-term: Freeze‚ thaw‚ and revive as needed.
4.3 Reviving a Dormant Starter
If your sourdough starter has been unused for an extended period‚ it may become dormant or develop a layer of liquid on top. Reviving it is straightforward and requires patience. Start by discarding any dark liquid or mold‚ ensuring the starter is free from contamination. Transfer the starter to a clean container and feed it with equal parts of fresh flour and water. Repeat this feeding process daily‚ observing for signs of activity such as bubbles and expansion. If the starter was frozen‚ allow it to thaw at room temperature before feeding. It may take 1-2 weeks for the starter to regain its vigor‚ depending on its condition. Consistent feeding and a warm environment will help restore its health. Avoid overfeeding‚ as this can slow recovery. Once active and bubbly‚ your starter is ready for baking.
- Discard any mold or dark liquid.
- Feed with fresh flour and water daily.
- Allow time for recovery (1-2 weeks).
- Store in a warm‚ draft-free area.
Troubleshooting Common Issues
Troubleshooting your sourdough starter involves identifying common problems like slow rising‚ excessive liquid‚ or mold. Adjust temperature‚ feeding schedule‚ or environment to restore balance. Most issues can be resolved with patience and proper care.
5.1 Common Problems and Solutions
Common issues with sourdough starters include slow activity‚ excessive liquid‚ or mold. If your starter is too slow‚ ensure it’s at room temperature and feed it more frequently. For excessive liquid‚ reduce the water in feedings. Mold indicates contamination; discard the starter and begin anew. If bubbles are sparse‚ check the temperature and freshness of ingredients. A too-dense starter may need more water‚ while a too-runny one requires less. Strong odors often signal over-fermentation; feed the starter to balance it. If your starter refuses to activate‚ try a fresh batch with filtered water and unbleached flour. Most issues resolve with patience and adjustments to feeding‚ temperature‚ or environment.
5.2 Adjusting for Temperature and Environment
Temperature and environment significantly impact sourdough starter activity. Ideal conditions are between 75°F and 80°F (24°C to 27°C)‚ where the starter ferments actively. In warmer climates‚ the starter may ferment too quickly‚ requiring more frequent feeding. In cooler environments‚ it may slow down‚ needing less feeding and a warmer spot. Drafts and extreme temperatures can disrupt activity‚ so keep the starter in a stable‚ draft-free area. Humidity also plays a role; a dry environment may require more water during feedings‚ while high humidity can lead to mold. For consistent results‚ maintain a predictable schedule and environment. If traveling or storing the starter‚ adjust its care based on the new temperature and humidity levels. By adapting to these factors‚ you can ensure your sourdough starter remains healthy and active.
5.3 When to Start Over
Knowing when to start over with your sourdough starter is crucial for success. If your starter develops mold‚ emits a strong‚ unpleasant odor‚ or shows no signs of life despite proper care‚ it may be time to begin anew. Mold‚ especially‚ is a clear indication that the environment has become unhealthy for the starter. Additionally‚ if your starter consistently fails to double in size or shows no bubbles after multiple feedings‚ it may not be viable. Starting over ensures you begin with a clean‚ healthy foundation. However‚ before giving up‚ double-check your feeding schedule‚ environment‚ and ingredient quality‚ as these factors can often be adjusted to rescue the starter. Only when all efforts fail should you consider creating a fresh starter.
Bonus: Printable Sourdough Starter Guide
Easily track your sourdough journey with our printable guide. Featuring checklists‚ feeding schedules‚ and tips‚ it ensures you never miss a step or feeding. Perfect for new and experienced bakers alike!

6.1 Printable Checklist
Stay organized with our printable checklist‚ designed to guide you through creating and maintaining your sourdough starter. This handy resource includes:
- Step-by-step instructions for Days 1-7
- Feeding schedule reminders
- Signs of readiness to look for
- Storage and revival tips
Print and place it in your kitchen for easy reference. It’s perfect for tracking progress and ensuring consistency. Keep it laminated for repeated use!
6.2 Printable Feeding Schedule
Keep your sourdough starter healthy and active with our printable feeding schedule; Perfect for beginners‚ this guide outlines the frequency and amounts needed to feed your starter during its creation and maintenance phases.
- Days 1-6: Feed once daily (1:1:1 ratio)
- Day 7+: Feed every 12-24 hours (1:1:1 ratio)
- Long-term storage: Feed once weekly if refrigerated
Print this schedule to track feedings and ensure your starter remains vigorous. Adjust as needed based on temperature and activity levels for optimal results. A consistent routine guarantees a thriving sourdough starter!